A few weeks ago I was invited to be part of a small, 40 Canadian DIYer community called Makeful.
Essentially Makeful is a new television channel that's being launched (TBD) to "help bring more content to life for the creatives at heart." In an effort to bring the same level of inspiration to the web, they've asked a small group of tried and true handmade lovers, makers and bloggers to contribute new projects and inspiration each week.
I've skipped a few weeks because I'm trying to be practical about time management with 3 BIG shows on the ever approaching horizon, but this week's challenge was to share a Back to School project, and it's full-on B2S mode here in the green house.
BOTH kids will be in full time school this year and, to say I'm pumped would the understatement of the century.
I am giddy with excitement.
I can hardly sleep I'm so excited.
It's almost embarrassing how excited I am.
But I digress.
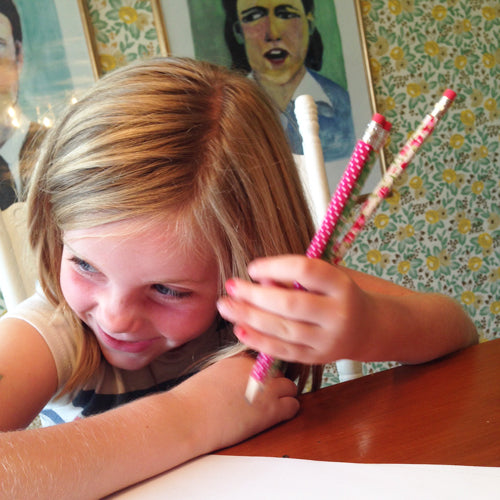
Clementine is always game for a good DIY, so we looked at her school supply list and decided that it needed a little "jazzing up".
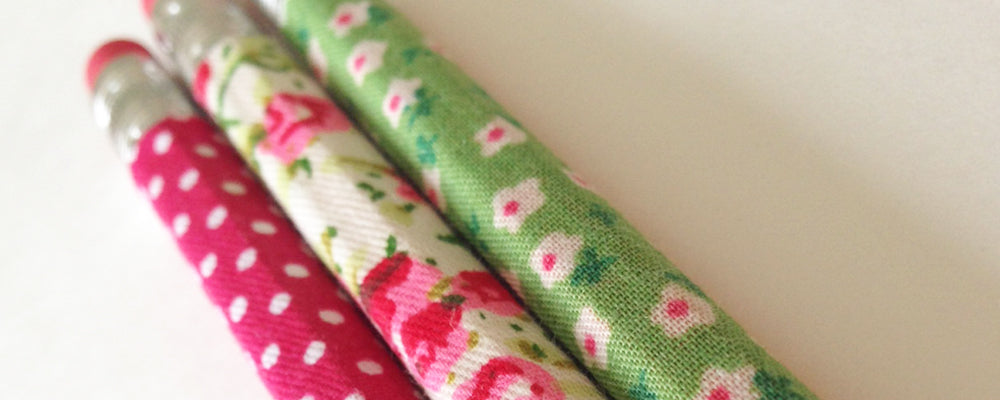
First up? Pencil beautification.
A simple project you can easily do with kids that offers a quick "wow factor" to any drab old pencil case.
Here's what you'll need:
- Pencils
- Fabric
- Tape Scissors
Measure the length of tape you'll be need simply by lying it beside your first pencil.
Personal preference: Don't take the back of the tape off first unless you love to waste perfectly good fabric tape and have trouble listening to direction. Oh forget it. Why should you care? You didn't pay for these materials anyway. Waste away.
Aaaaand another thing: Sharpen the pencil first. You can sharpen it with the fabric, but it did gum up a bit so I just pulled the fabric back a smidge, sharpened and then trimmed. You'll have to do this each time you sharpen, but it's really not a big deal. I think actually after the glue from the sticky back has dried up a bit you may not have any issue sharpening with the fabric on it.
Now there is fatter fabric tape, but the selection didn't meet our "prettiness" requirements, so we opted for the thinner version.
This meant we had to do two strips per pencil. No big whoop. Just repeat the last step on the other side of the pencil.
And you're done.
I wish I could tell you that was harder, but it wasn't.
Don't you just love a project that looks so impressive but takes literally 10 minutes* to do?
(*not including snack breaks)
Clementine was pleased as punch with how quickly we upped her pencil game.
Grade one here she comes.
Now.
What to write...what to write...
Happy Crafting!


